Learn how to make goose jerky in a dehydrator using a Canada Goose jerky marinade recipe of molasses, liquid aminos, Worcestershire sauce, and other seasonings.
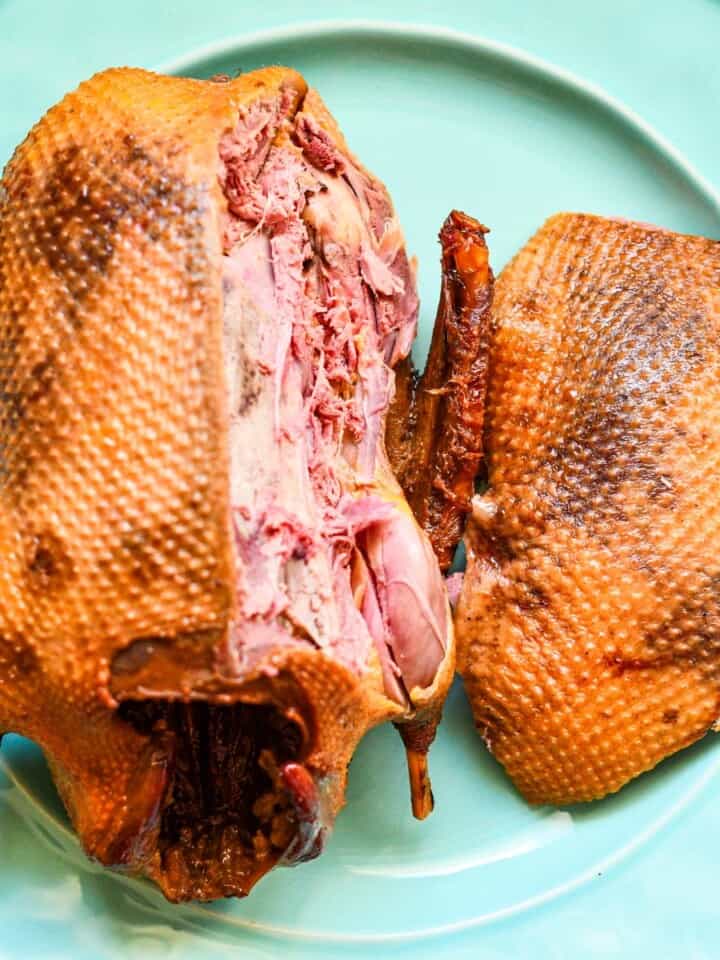
If you’ve ever come home from a successful Canada goose hunt with a pile of goose breasts, you know the feeling. You’re proud. You’re hungry. And you’re wondering, what’s the best way to use all this goose meat?
For me, the answer is : lots of things! My wife and 10-year-old daughter love it when I make goose pastrami. Because who doesn't love a good Reuben sandwich! But they also like eating a goose stir fry, wiener schnitzel, and fajitas.
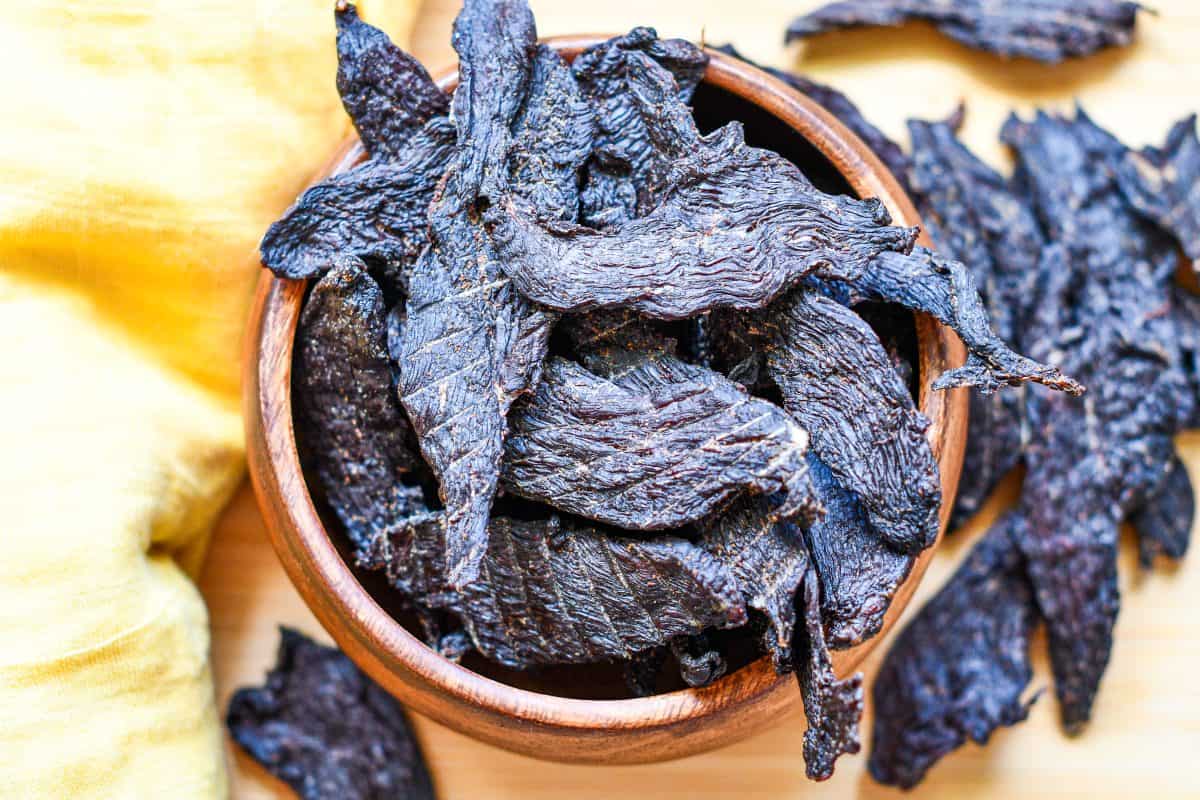
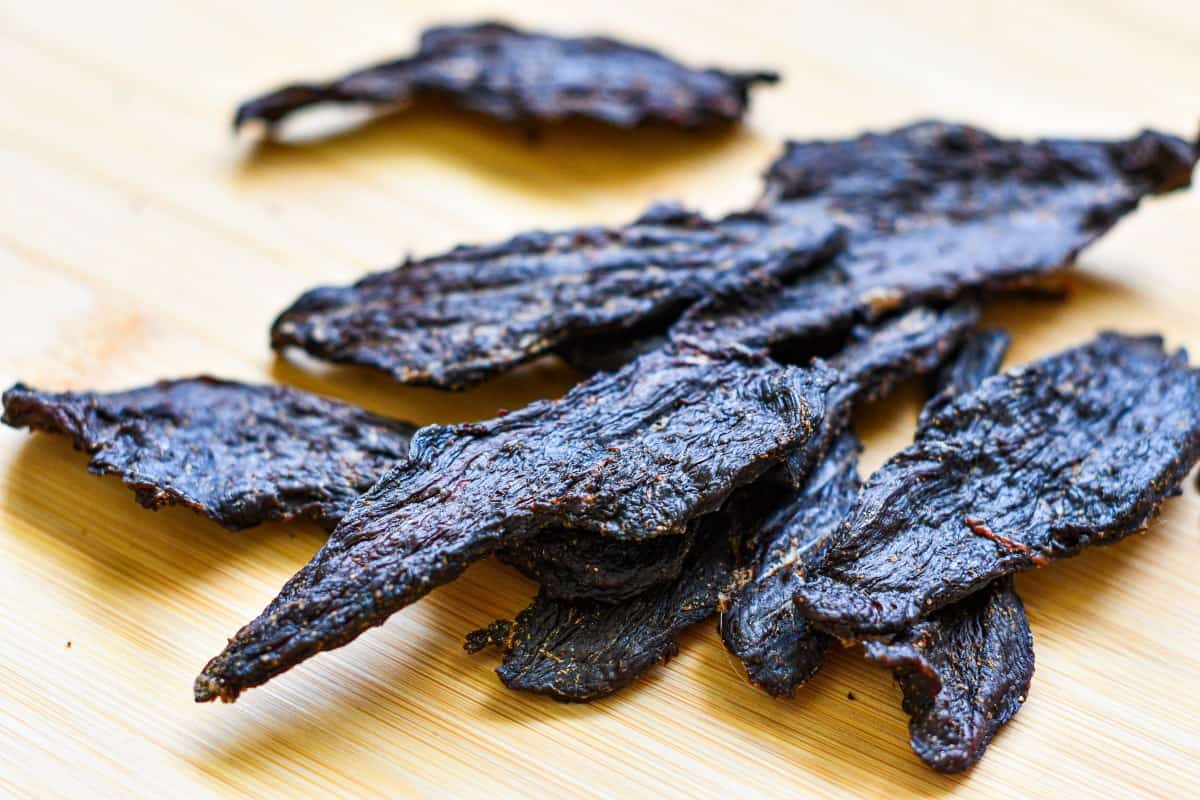
But when it comes to snack foods, there is nothing better than goose jerky! Jerky is one of the oldest and most practical wild game snacks. It’s portable, it’s satisfying, and it lasts. More importantly, making goose jerky at home is easier than you think. You don’t need fancy equipment, just a dehydrator, a good knife, and a bit of patience.
In this recipe, I’ll walk you through exactly how to make goose jerky at home. I’ll share a tried-and-true goose jerky recipe with a simple marinade. And I’ll give you step-by-step instructions so you can turn your wild goose into a snack your family, friends, or hunting buddies will love.
Why Make Goose Jerky?
Canada Geese get a bad rap sometimes. Too many people complain it tastes tough or “gamey.” But here’s the truth: when handled properly, goose can be every bit as delicious as beef. Especially when you make it into jerky.
The trick is in the marinade and the slow drying process. This combination transforms what some dismiss as “dog food” into a smoky, savory, chewy snack that disappears faster than a plate of perfectly-cooked venison backstrap.
Plus, jerky solves a problem all hunters know well: how to make the most of a freezer full of wild game. With this goose jerky recipe, you’ll have a snack that’s great for sending to school with kids, road trips, or as fuel during your next long hike.
What You'll Need
To make this wild goose jerky, you need a few basics:
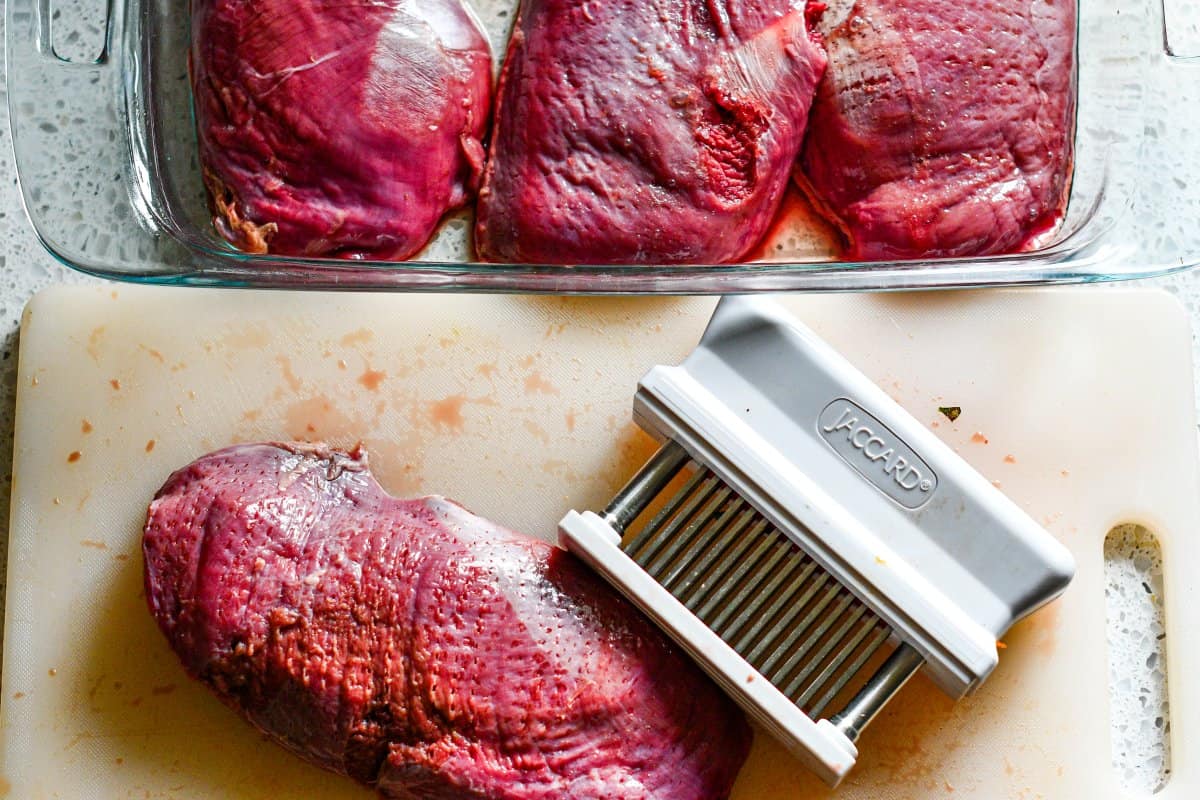
- A Jaccard meat tenderizer (a game-changer for making jerky tender and flavorful).
- A sharp knife (essential for cutting thin, even strips).
- A dehydrator (set to 140 degrees F for best results).
That’s it. No need for expensive smokers or specialized jerky guns.
Goose Jerky Marinade That's 100% Gluten Free
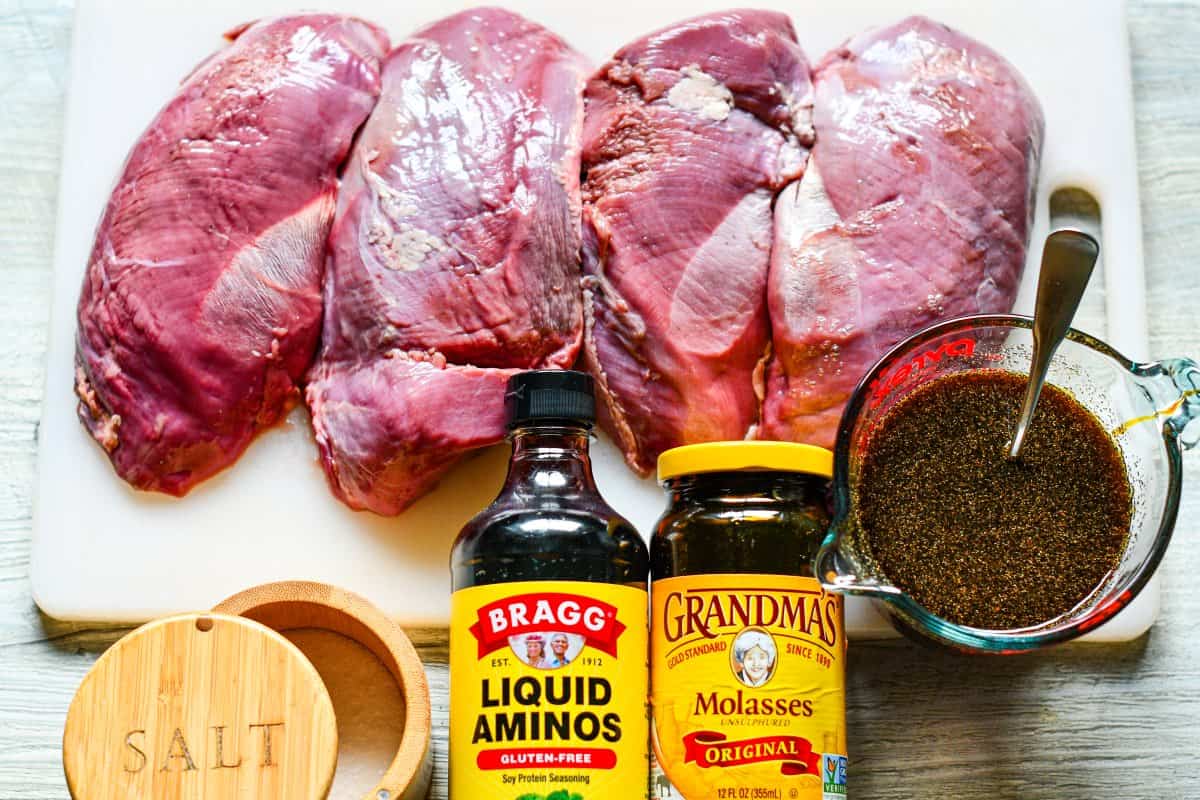
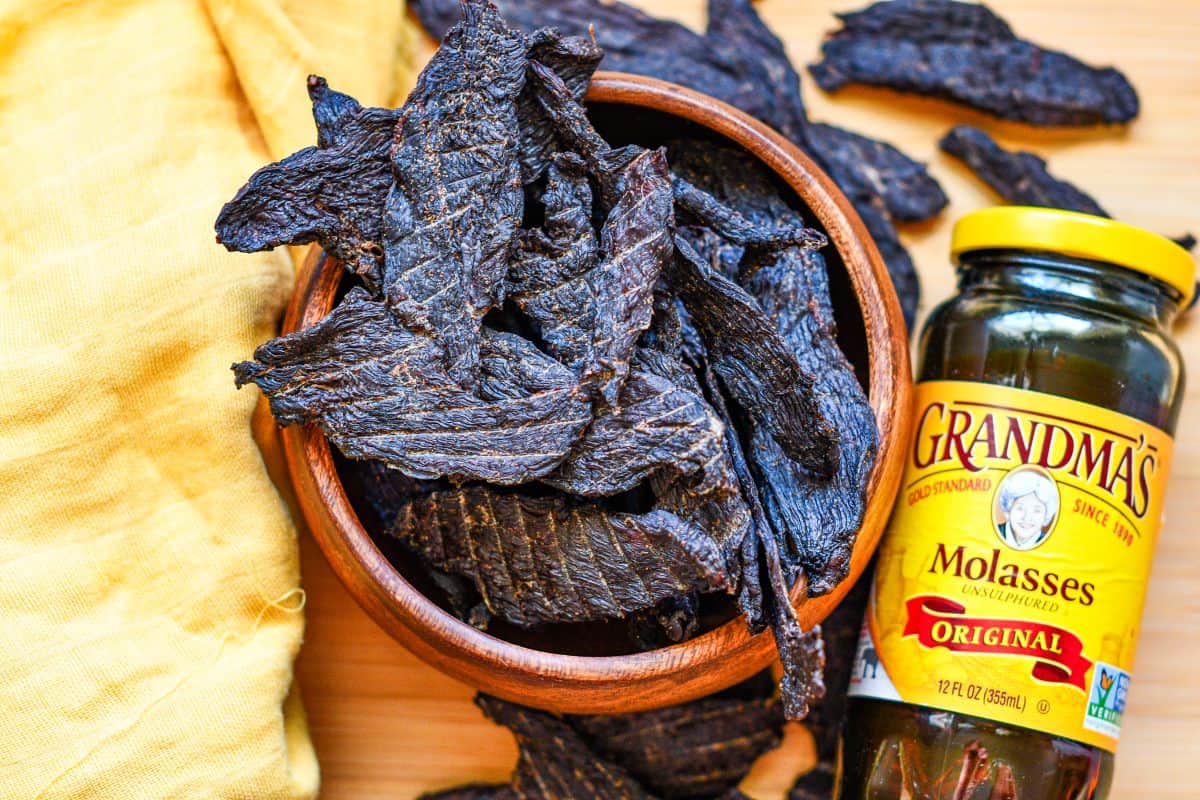
The heart of great jerky is the marinade. This one is straightforward, bold, and slightly sweet thanks to molasses. The liquid aminos and Worcestershire add depth and umami. Black pepper, garlic, and onion powder round it out.
I used liquid aminos instead of soy sauce for an important reason. Soy sauce contains gluten, which means some of my friends with celiac disease couldn’t enjoy the jerky. Liquid aminos taste just as rich, but they make this goose jerky recipe 100% gluten-free. That way, nobody gets left out when I pass around a bag at family get-togethers or while we're sitting in the duck blind.
Goose Jerky Recipe
Ingredients
- 2 pounds skinless goose breasts
- ½ cup liquid aminos
- ¼ cup molasses
- 3 Tablespoons Worcestershire sauce
- 2 Tablespoons water
- 1 teaspoon black pepper
- 1 teaspoon onion powder
- 1 teaspoon garlic powder
Instructions
1. Place the goose breasts on a cutting board and tenderize with a Jaccard meat tenderizer. Then place them in a freezer to firm up for about one hour. This will make them easier to slice.
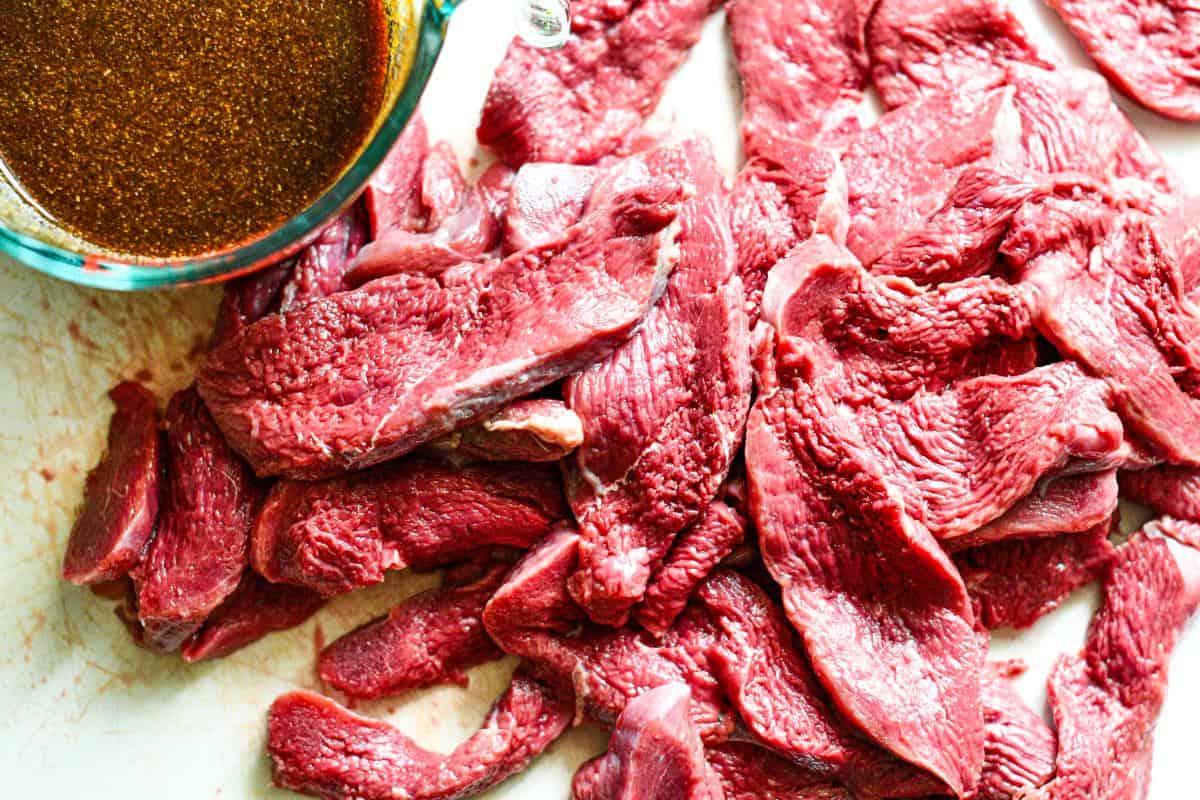
2. Using a sharp knife, cut the breasts into thin strips no thicker than ¼-inch. Place strips into a large Ziploc bag.

3. Add all of the marinade ingredients in a large measuring cup or small bowl and stir to combine. Add mixture to the Ziploc bag with sliced goose breasts and massage together, ensuring all pieces are well coated. Place bag in refrigerator and marinate for 6 to 8 hours.
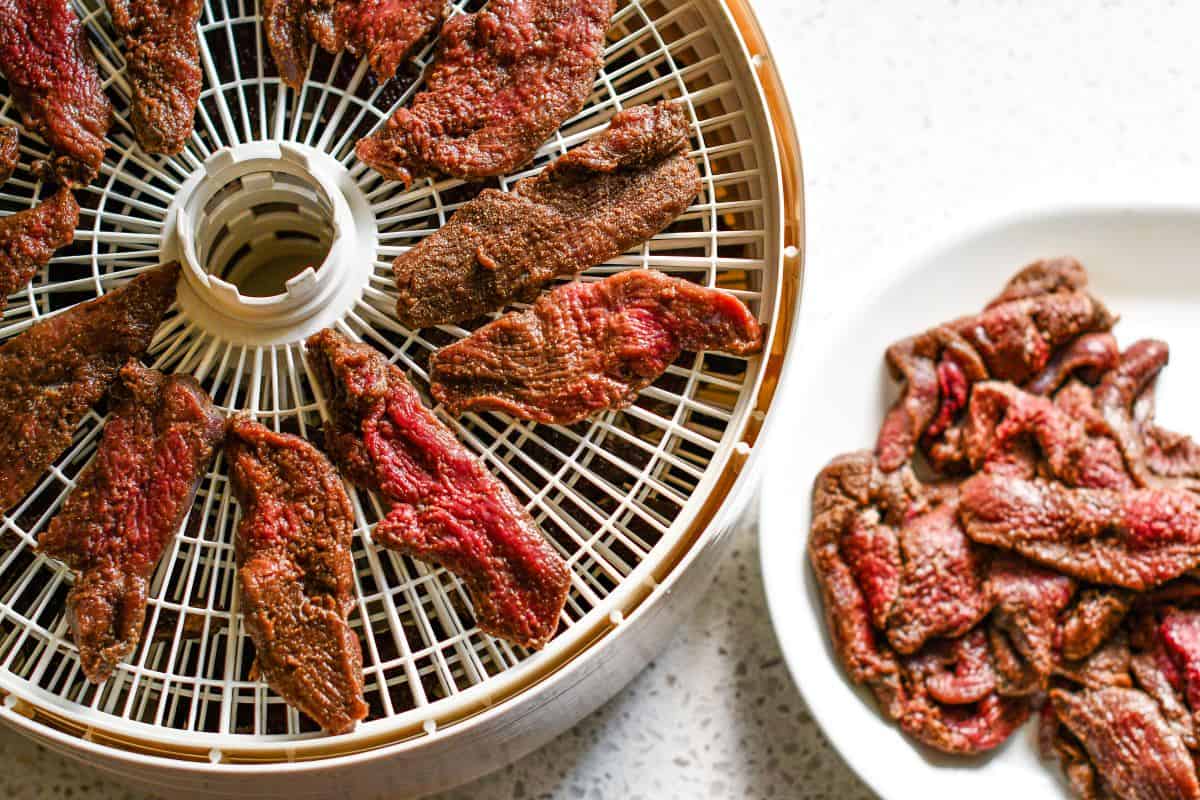
4. Remove the goose breast slices from the bag and pat dry with paper towels. Arrange them in a single layer on dehydrator racks. It’s OK if pieces touch or slightly overlap. Turn the dehydrator on to 140 degrees F, and allow to dehydrate until done. This process usually takes between 8–10 hours.
5. Allow jerky to cool, then place in a Ziploc bag if you’re planning to eat within a month. Otherwise, vacuum seal batches and store in the freezer for up to 6 months.
Tips For Making Goose Jerky At Home
Even though this recipe is simple, there are a few tricks that will make your goose jerky turn out perfect every time.
1. Slice evenly – Thin, uniform strips dehydrate at the same rate. Uneven cuts mean some jerky will dry too much while other pieces stay soft.
2. Don’t rush the marinade – Six hours is the minimum. Overnight is perfect depending on how long you sleep. Don't go much past 8 hours or it will get too salty.
3. Check early – Around the 7-hour mark, start checking pieces in the dehydrator. When they bend slightly and crack but don’t snap, they’re done.
4. Cool before storing – Sealing warm jerky traps moisture. That moisture causes mold. Always let it cool first.
5. Experiment with smoke – If you have a smoker, you can add a light smoke before dehydrating. This step is optional but delicious.
Can You Make Goose Jerky In The Oven?
Absolutely. If you don’t own a dehydrator, you can make this same goose jerky recipe in your oven. Just place the strips on wire racks set over baking sheets. Set your oven to the lowest temperature, usually around 170 degrees F. Prop the oven door open a crack to allow moisture to escape.
The process will take a little less time than a dehydrator, usually around 6 hours. And the results are just as excellent.
How to Store Goose Jerky
Storage depends on how fast you plan to eat it.
- For short-term storage, keep jerky in a Ziploc bag either in the refrigerator at just at room temperature. It will stay good for up to a month.
- For long-term storage, vacuum seal and freeze it. Properly sealed, your Canada goose jerky will last up to 6 months without losing flavor or texture.
Nutritional Benefits of Goose Jerky
One of the best things about making your own wild goose jerky is knowing exactly what goes into it. Unlike store-bought jerky that can be packed with sugar, preservatives, and mystery ingredients, this recipe keeps it clean and simple.
Goose meat is naturally lean and protein-rich, which makes it an excellent fuel for hunters, athletes, or anyone looking for a healthy snack. A single serving of goose jerky delivers plenty of protein to keep you full, but without the high fat content you’d find in beef jerky.
And because this recipe uses liquid aminos instead of soy sauce, it’s also gluten-free, which makes it safe for friends and family with celiac disease. That’s a big win in my book, because great snacks should be something everyone can enjoy.
More Family Favorite Goose Recipes
If you are looking for more great goose recipes, check these out that have all been tested and approved by my wife and our 10-year-old daughter:
Come Goose Hunting in North Dakota
If you are headed our way for North Dakota waterfowl season, check out the North Dakota Game & Fish Department website. And if you want me to come along with you as your camp cook, photographer, or butcher, you can find out more details here.
Join Our Wild Game Cooking Community
Sign up here to receive a new recipe in your email inbox every Tuesday morning!
DID YOU MAKE THIS RECIPE?
If you make this Goose Jerky Recipe, tag @wildgameandfish so I can share it on my Instagram stories.
Did you enjoy this Goose Jerky Recipe? Be sure to leave a 5-star rating RIGHT HERE!
How to Make Goose Jerky (Easy Step-by-Step Recipe)
Ingredients
- 2 pounds skinless goose breasts
- ½ cup liquid aminos
- ¼ cup molasses
- 3 Tablespoons Worcestershire sauce
- 2 Tablespoons water
- 1 teaspoon black pepper
- 1 teaspoon onion powder
- 1 teaspoon garlic powder
Instructions
- Place the goose breasts on a cutting board and tenderize with a Jaccard meat tenderizer. Then place them in a freezer to firm up for about one hour. This will make them easier to slice.
- Using a sharp knife, cut the breasts into thin strips no thicker than ¼-inch. Place strips into large Ziploc bag.
- Add all of the marinade ingredients in a large measuring cup or small bowl and stir to combine. Add mixture to Ziploc bag with sliced goose breasts and massage together, ensuring all pieces are well coated. Place bag in refrigerator and marinate for 6 to 8 hours.
- Remove the goose breast slices from the bag and pat dry with paper towels. Arrange them in single layer on dehydrator racks; it's OK if pieces touch or slightly overlap. Turn the dehydrator on to 140 degrees F, and allow to dehydrate until done. This process usually takes between 8-10 hours.
- Allow jerky to cool, then place in a Ziploc bag and keep at room temperature or in the refrigerator if you’re planning to eat within a month. Otherwise you can vacuum seal batches of it and store it in the freezer for up to 6 months.

Melissa says
We made this but substituted soy sauce for liquid aminos and it turned out great. Whole family loved it!
Jeff Benda says
Thanks Melissa. So glad you and the family loved it. Glad to hear the soy sauce substitution worked.
Kathy says
Our granddaughter loves this jerky!
Jeff Benda says
Great to hear that your granddaughter loved it!
Nick says
Jeff has one heck of a recipe here! Solid all-around recipe that everyone will love; from kids to picky adults who would not know its goose after you make them do a blind taste test!
Jeff Benda says
Thanks Nick! So glad you and the kids enjoyed the jerky recipe!
Sam says
Great jerky! I always appreciate small batch recipes in case I don't like it. But we loved it and will make again.
Jeff Benda says
Thanks Sam! Glad you like the jerky!