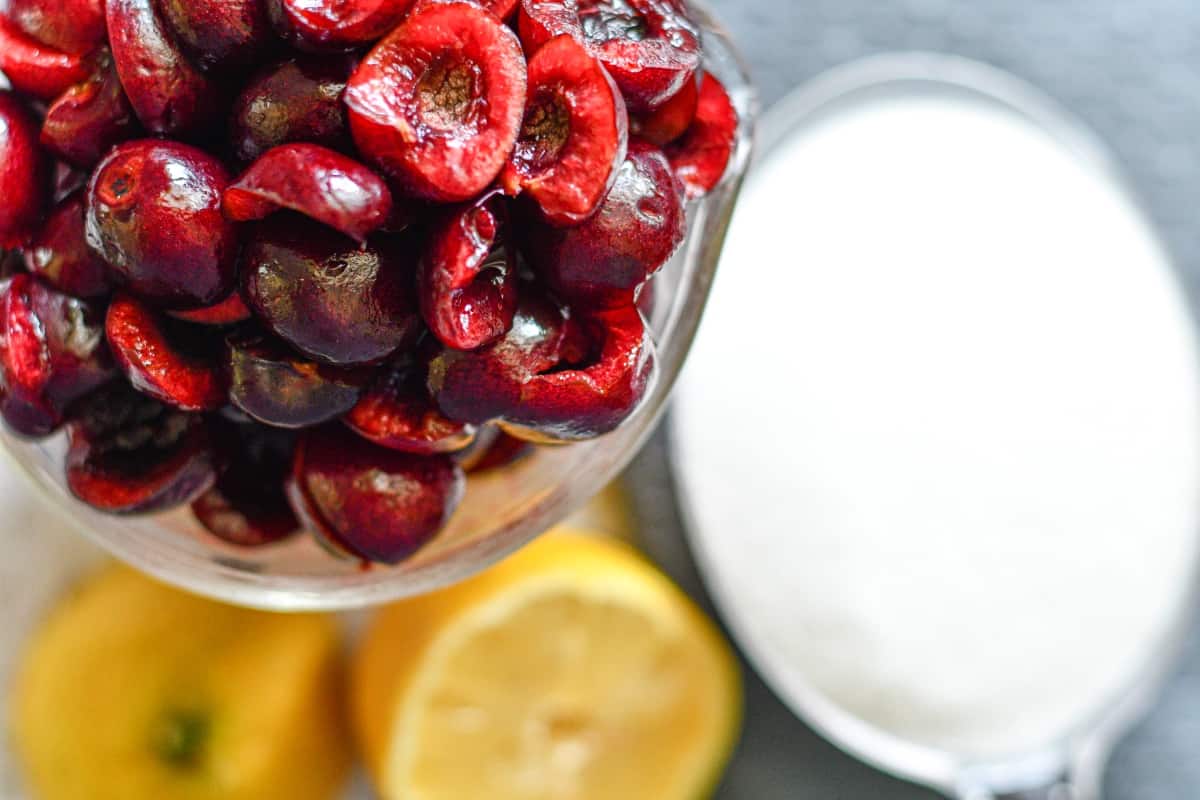
This Cherry Jam Recipe allows you to make your own cherry jam without pectin using a few simple ingredients you already have on hand, I'll show you how to make jam using just three ingredients - no pectin required! All you need is fresh fruit, sugar, and lemon juice to make a pint jar of homemade jam you can store in the fridge.

Why Make Your Own Small Batch Of Cherry Jam
Picture me in an aisle at your local grocery store, looking like a deer in headlights. I'm staring at the intimidating great wall of jam, jelly, preserves, and natural fruit spreads. Is there really a big difference in the texture and taste of all those varieties of sweetened fruit?
When I'm given too many choices, I get a headache! And don't even get me started on marmalade! I went from being scared to death of making my own preserves to putting up jars and jars of it. The key for me was doing just one jar at a time! I'll never be like one of those epic grandmothers who passes out dozens of jars of perfectly preserved jams to family and friends with a cute ribbon tied around the lid.
I'm the wild game guy! I hand out vacuum seal packages of Canada Goose Pastrami and jars of Pickled Northern Pike.
If you are anything like me, you escape to your kitchen to de-stress, not add more chaos to your life. Those of us with children and aging parents already have too much of that already. Cooking has always been able to calm me down and allow me to go to my happy place. Work smarter, not harder! I've always found that doing only one thing at a time is a surprisingly powerful way to become more productive. Which is why I only make small batches of jam like I do with this recipe for cherry preserves.
Jam vs Jelly
The difference between jam and jelly is that jam contains pieces of the fruit it is made with, whereas jelly uses only the juice from the fruit. I used whole cherries for this jam recipe instead of chopped fruit, so I could also technically call it cherry preserves.
Jam vs Preserves
Fruit preserves are very similar to jam, but they’re slightly thicker due to the use of whole pieces of fruit instead of chopped or crushed fruit. You are likely to find large bits of fruit suspended in preserves.
How To Pit Cherries
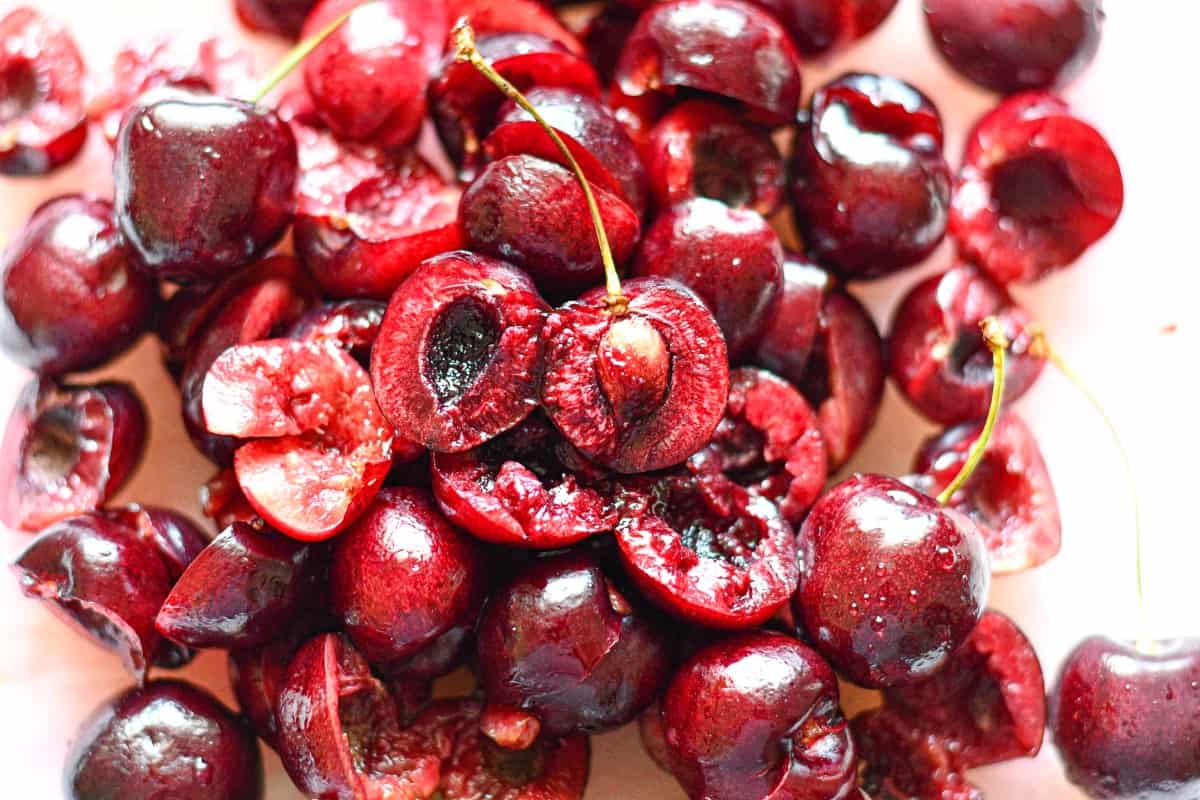
Place your bowl of cherries in the kitchen sink. Remove the stem from a cherry. Using the side of a paring knife, press down gently but firmly until you feel the cherry give way slightly. This helps loosen the pit. Do not press too hard or crush the cherry. Make an incision from top to bottom along one side of the cherry. Gently pull on either side of the cut to expose the pit and use your fingers to remove it.
If you want to make this cherry jam recipe outside of cherry season, you can head to your local grocery store and find a 1-pound bag of frozen pitted cherries for about $4.00.
How To Make Cherry Jam Without Pectin
1. Stem the cherries, then pit them over a bowl placed in your kitchen sink. This makes for an easier cleanup!

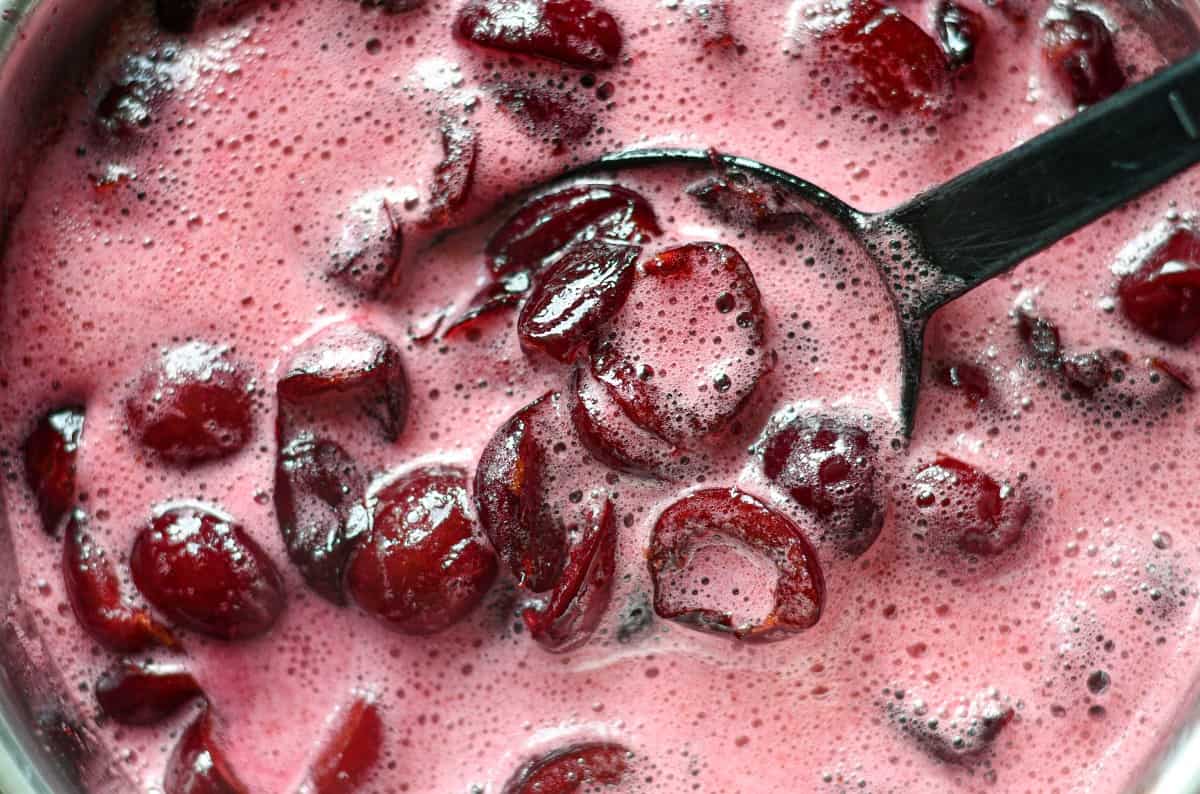
2. In a 2 ½ quart saucepan (or a little bigger), combine the cherries and sugar over medium heat. Don't use a smaller size saucepan, or you'll have problems with it bubbling over and making a mess of your kitchen - I've done this and it's not fun! Cook, stirring occasionally, until the cherries begin to break down and release its juice, about 7 minutes.

3. Bring to a boil over medium-high heat. Cook, stirring occasionally, until the mixture thickens, about another 7 minutes.
4. Add the lemon juice and reduce the heat to low. Using a wooden spoon or potato masher, crush the fruit until it reaches the desired consistency, about 1 minute. Remove from the heat and let the cherry jam rest in the saucepan for 15 minutes.
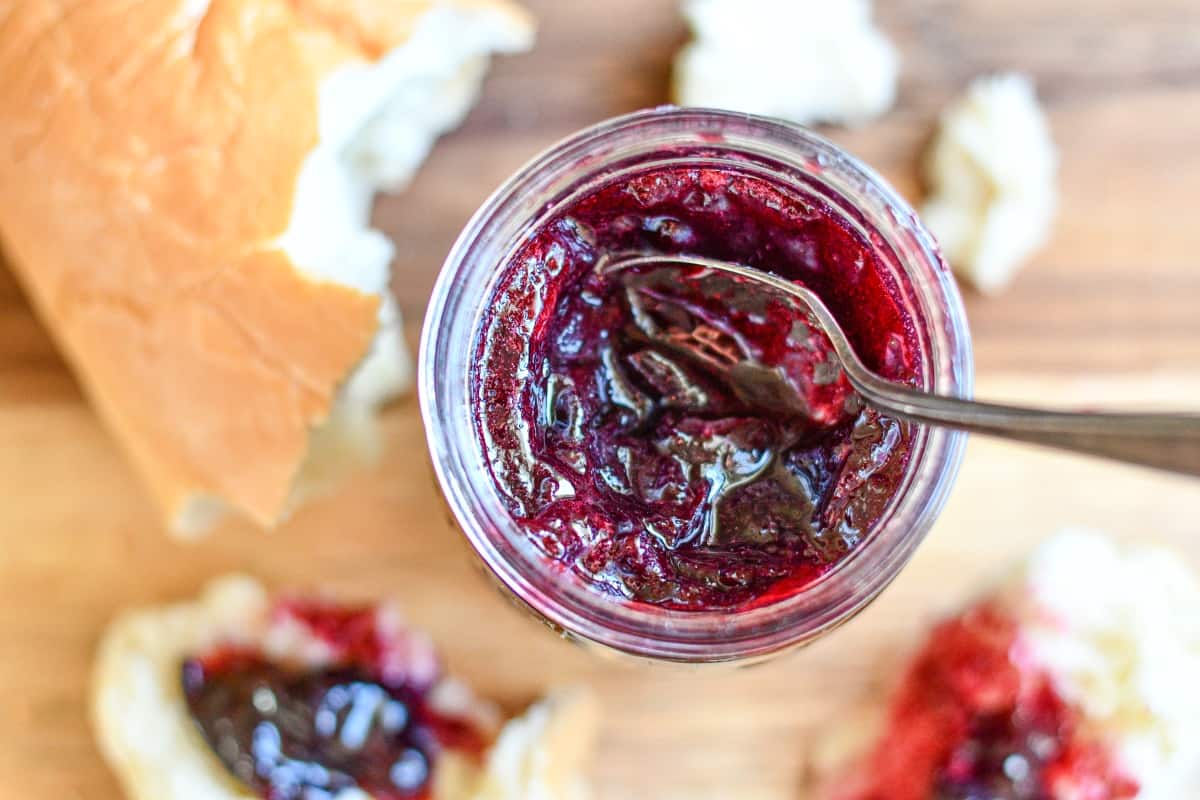
5. Ladle the cherry jam into a pint jar (2-cups). Clean the rim of the jar with a damp paper towel. Place a lid on the jar and let cool on the kitchen counter for 1 hour. Transfer the jar to the refrigerator and cool another 1 hour to let it set.
6. Store in the jar with a tight-fitting lid in the refrigerator for up to 1 month.

What To Serve With CherryJam
I love slathering some toasted bread or biscuits with this cherry jam or serving it alongside a cheese board. Our 9-year-old daughter loves mixing a spoonful into her cherry yogurt to make it EXTRA CHERRY! But I'm also really excited to try this homemade cherry jam as a glaze for some deer ribs this fall - I'll keep you posted on that one!
More Cherry Recipes
If you are looking for more great cherry recipes, you can check out my Best Ever Cherry Muffins Recipe and my Easy Cherry Syrup recipe.
Join Our Wild Game Cooking Community
Sign up here to receive a new recipe in your email inbox every Tuesday morning!
DID YOU MAKE THIS RECIPE
If you make this Cherry Jam Without Pectin Recipe, tag @wildgameandfish so I can share it on my Instagram stories.
Did you enjoy this Cherry Jam Recipe? Be sure to leave a 5-star rating RIGHT HERE!

How to Make Cherry Jam Without Pectin
Ingredients
- 3 cups ripe sweet cherries (such as Bing or Rainier)
- ½ cup sugar
- 1 teaspoon fresh lemon juice
Instructions
- Stem the cherries, then pit them over a bowl placed in your kitchen sink. This makes for an easier cleanup!
- In a 2 ½ quart saucepan (or a little bigger), combine the cherries and sugar over medium heat. Don't use a smaller size saucepan, or you'll have problems with it bubbling over and making a mess of your kitchen - I've done this and it's not fun! Cook, stirring occasionally, until the cherries begin to break down and release its juice, about 7 minutes.
- Bring to a boil over medium-high heat. Cook, stirring occasionally, until the mixture thickens, about another 7 minutes.
- Add the lemon juice and reduce the heat to low. Using a wooden spoon or potato masher, crush the fruit until it reaches the desired consistency, about 1 minute. Remove from the heat and let the cherry jam rest in the saucepan for 15 minutes.
- Ladle the cherry jam into a pint jar (2-cups). Clean the rim of the jar with a damp paper towel. Place a lid on the jar and let cool on the kitchen counter for 1 hour. Transfer the jar to the refrigerator and cool another 1 hour to let it set.
- Store in the jar with a tight-fitting lid in the refrigerator for up to 1 month.


Leave a Reply